Boxes, Bins, and Better Organization: 10 Packing Tips for a Storage Unit That Actually Works
Packing a storage unit looks straightforward until you are standing in front of a growing collection of boxes, furniture, seasonal belongings, and equipment, wondering what should go in first. It is easy to focus entirely on making everything fit, but that approach can create problems later. A box you suddenly need may be buried in the back, furniture can become difficult to remove, and stacks that seemed efficient on move-in day can quickly become frustrating when you need to access the space again. A better approach is to think about the storage unit as an organized extension of your available space rather than simply a place to stack belongings. Planning where items will go, using consistent containers, labeling clearly, and leaving room to move around can make a significant difference. For people considering storage options in Helena, thinking through the packing process ahead of time can make each visit to the unit easier, particularly if belongings will be stored for several months or accessed periodically.
At Helena Security Storage, we know that effective packing is not about squeezing something into every available inch. Instead, it is about making smart use of the space while keeping belongings organized and reasonably accessible. With that in mind, the following ten tips can help you pack a storage unit in a way that makes sense on the first day and continues to work well later.
Key Points for Readers Short on Time
- Plan the layout before moving boxes and furniture into the unit, keeping frequently needed belongings closer to the entrance.
- Use sturdy boxes in a few consistent sizes so they can be stacked more securely and efficiently.
- Label boxes on multiple sides and maintain a simple inventory so individual belongings are easier to locate.
- Use vertical space carefully, with heavier and sturdier belongings supporting lighter items above them.
- Leave an aisle and organize the unit into zones so you can reach belongings without repeatedly unpacking the space.
1. Plan the Layout Before You Start Carrying Things In
One of the most common packing problems happens before the first box even crosses the threshold. Without a rough plan, people naturally put large items wherever they fit and then fill the gaps around them. At first, the arrangement may look perfectly reasonable. However, after several trips back and forth, the storage unit can become a tightly packed puzzle with important belongings trapped behind furniture and stacks of boxes. Before loading the unit, take a few minutes to separate belongings into general categories. Furniture might form one group, while household goods, clothing, documents, recreational equipment, seasonal decorations, and frequently used items form others. Then consider how often you are likely to need each category. Belongings that will probably remain untouched can generally go farther toward the back, while items you expect to retrieve should remain closer to the entrance or along an accessible aisle.
This kind of planning becomes even more valuable when the storage timeline is not completely predictable. A renovation may take longer than expected, a temporary living arrangement can change, or a household transition may not follow a perfectly fixed schedule. Our guide to month-to-month storage for unpredictable life changes in Helena, MT explains how flexible storage can fit situations where the length of time you need additional space may change. When you do not know exactly when everything will come back out, organizing the unit for ongoing accessibility can save a great deal of unnecessary work. It can even help to make a simple sketch before you begin. You do not need precise measurements or an elaborate floor plan. A basic note showing furniture along one wall, long-term boxes toward the rear, outdoor equipment in another section, and frequently accessed belongings near the front may be enough to keep the packing process organized from the beginning.
2. Choose Boxes Based on What Goes Inside Them
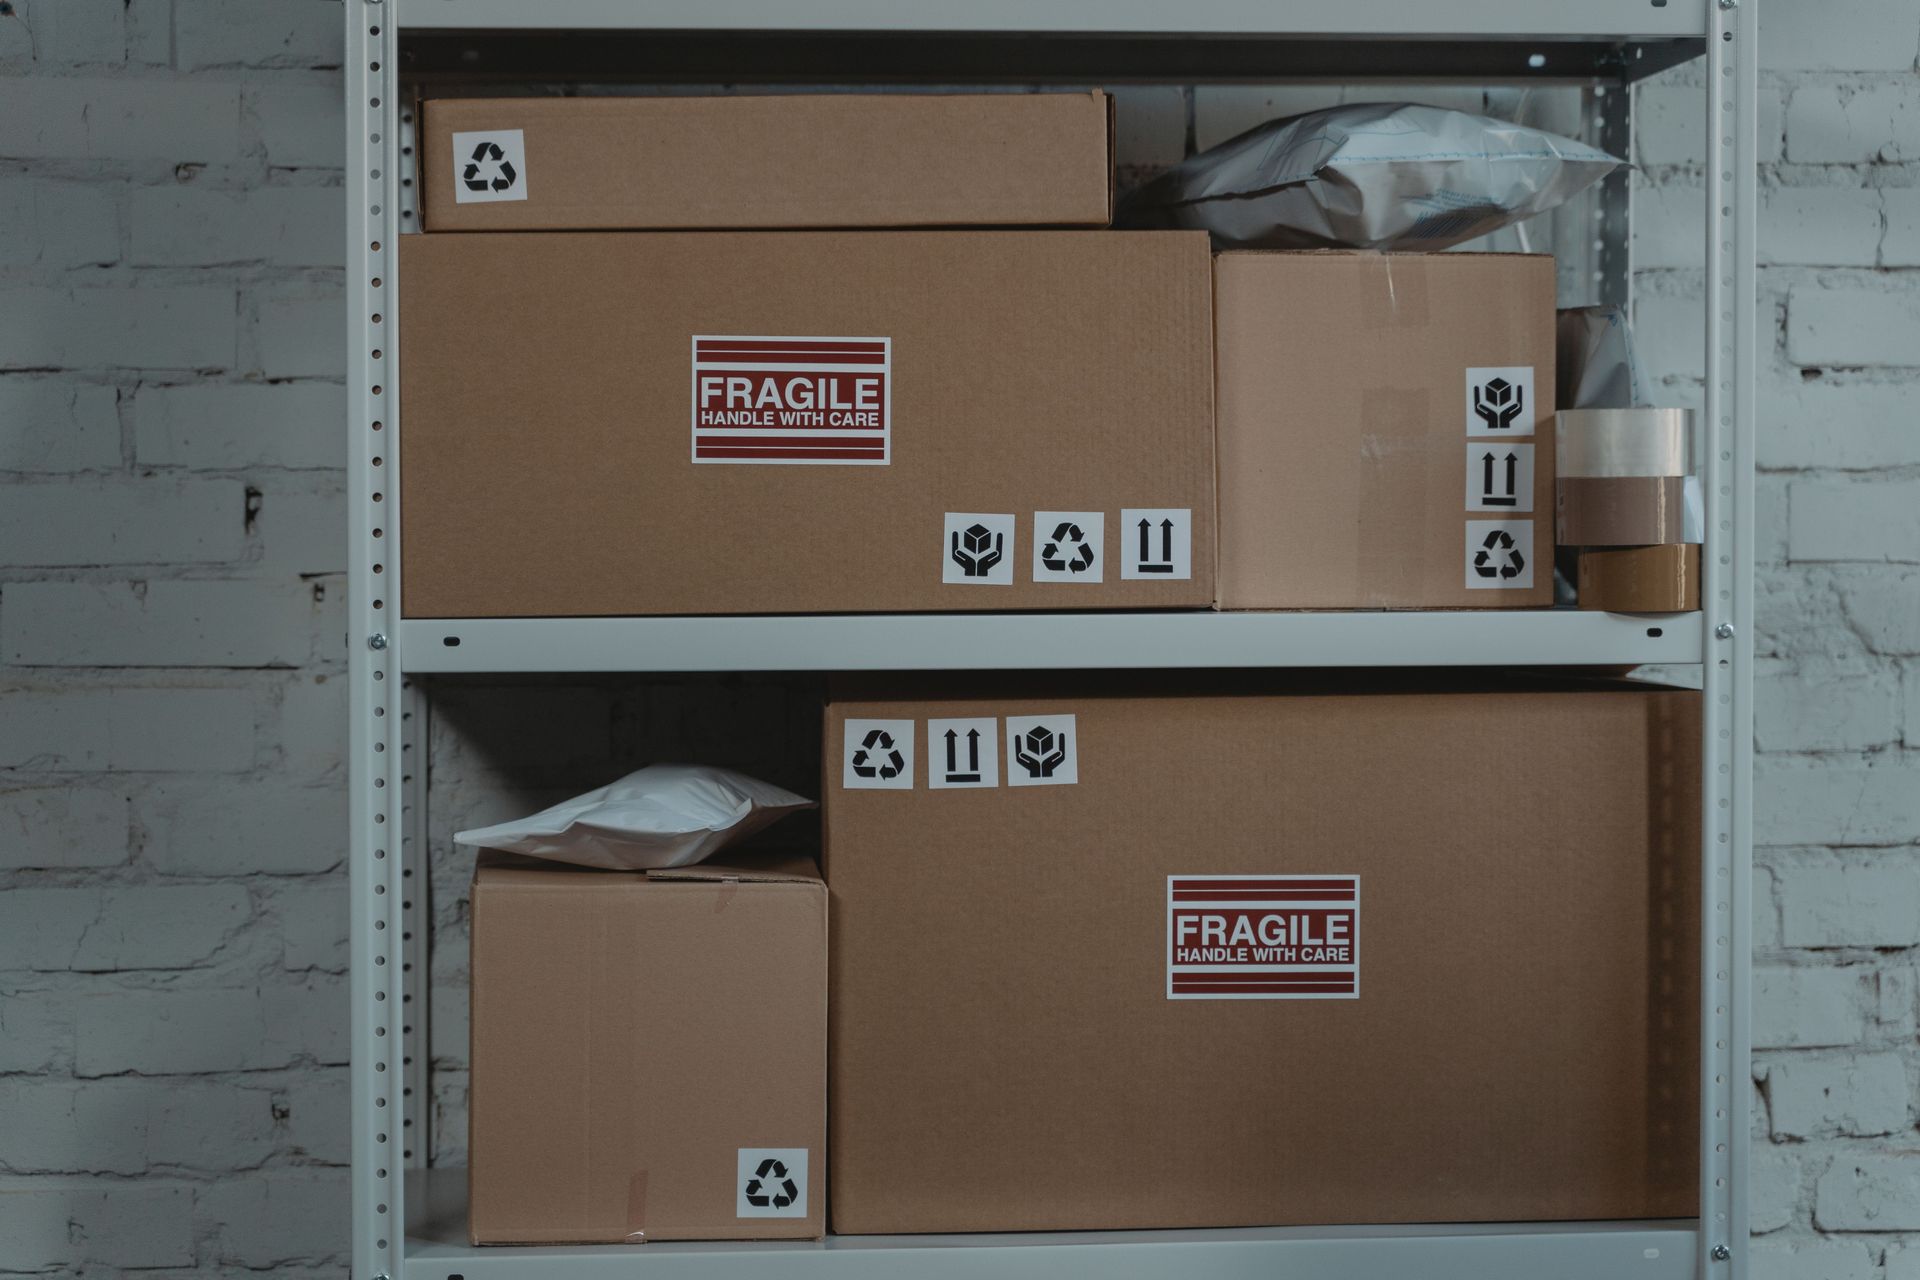
Once you have a basic layout, the next step is choosing containers that make stacking and organization easier. Using whatever boxes happen to be available may save time initially, but an assortment of weak, oversized, and oddly shaped boxes can be difficult to arrange efficiently. Consistent box sizes create flatter, more predictable stacks and reduce the number of awkward gaps between containers. However, the biggest box is not automatically the most useful one. Heavy belongings such as books, dishes, tools, and small appliances are usually easier to handle in smaller containers. A huge box filled with books may technically hold everything, but moving it safely can become a challenge. Meanwhile, larger boxes are generally better suited to lighter items such as blankets, pillows, bedding, and certain types of clothing.
Plastic bins can also be helpful for belongings that may be accessed more regularly. Clear containers make contents easier to identify, while containers with compatible lids and dimensions can create neat stacks. Still, there is no need to transfer everything into plastic. Sturdy cardboard boxes can work well for many household belongings when they are properly packed and kept within reasonable weight limits. As you pack, fill empty areas inside boxes with appropriate packing material so the contents do not shift excessively. At the same time, avoid forcing so much into a box that its sides bulge or the top will not close flat. A box with a level top is much easier to incorporate into a stable stack than one that has been overfilled.
3. Make Your Labels Useful From Every Angle
Labeling sounds like one of the simplest parts of packing, yet it is also one of the easiest places to cut corners. Writing "Kitchen" on the top of a box may seem sufficient while you are packing at home. Once another box is stacked on top of it, however, that label disappears. A few months later, you may find yourself moving several containers just to figure out which one holds the item you need. Instead, label at least two visible sides of every box. Be specific enough that the description will mean something later. "Kitchen" is broad, while "Kitchen: baking pans, mixing bowls, and measuring cups" gives you a much clearer idea of what is inside. Similarly, "Outdoor Gear" could become "Camping: lanterns, cookware, and sleeping pads." That extra detail takes only a few seconds while packing but can save considerable searching later.
For an even more organized system, number the boxes and keep a simple inventory on your phone. You might record Box 8 as holiday decorations, Box 9 as winter clothing, and Box 10 as camping equipment. You can also note where each box is located, such as front left, rear right, or middle shelving. That way, you are not relying entirely on memory several months after packing the unit. There is also no need to write highly detailed descriptions of valuable or sensitive belongings on the outside of boxes. A numbered inventory can provide the information you need while allowing exterior labels to remain more general. The goal is to create a system that helps you find things efficiently without making the labeling process unnecessarily complicated.
4. Build From Heavy to Light
After the first boxes start entering the unit, think of the arrangement as a structure rather than a collection of individual objects. Every stable structure needs a strong foundation. In a storage unit, that means placing heavier, sturdier belongings lower and allowing lighter items to occupy higher positions. Books, tools, sturdy household goods, and other dense items should generally stay close to the floor or at the bottom of appropriate stacks. Boxes containing linens, pillows, lightweight decorations, and similar belongings can go higher. Fragile containers should never become the foundation for several heavier boxes simply because their dimensions happen to line up.
The same principle applies to furniture. Strong, stable pieces can help define the layout of the unit, but furniture should not automatically be treated as shelving. A dresser may be able to hold lightweight belongings, for example, while a delicate table may not be suited to supporting several heavy containers. Protecting the furniture should remain more important than filling every inch of vertical space. As stacks grow, periodically check their stability rather than waiting until the entire unit is packed. If a stack leans, wobbles, or depends on another pile to remain upright, rearrange it. An efficient storage setup should remain stable even when nearby belongings are removed.
5. Leave a Walkway Even When It Feels Like Wasted Space
Leaving part of the floor uncovered may feel strange when your goal is to maximize a storage unit. However, one of the most useful packing decisions you can make is creating an aisle that allows you to move through at least part of the space. Otherwise, the boxes at the back can effectively become inaccessible until everything in front of them is removed. The walkway does not need to be especially wide. It simply needs to provide enough room to reach important sections safely and comfortably. If possible, position box labels so they face the aisle. That allows you to scan several containers at once rather than pulling them out individually to read their contents.
You can make the aisle even more useful by organizing belongings into zones. Household goods might occupy one side, recreational equipment another, while seasonal belongings are grouped toward the rear. Furniture can have its own section, and frequently accessed containers can remain near the entrance. Instead of remembering where dozens of individual objects are located, you only need to remember the general zone. This approach can be particularly helpful when the storage unit will be used for more than a brief transition. Over time, you may remove some belongings, bring in others, or rotate seasonal equipment. A defined walkway gives you room to make those adjustments without rebuilding the entire storage unit every time something changes.
6. Use Vertical Space Without Creating a Tower of Boxes
Once the floor plan is working, the next opportunity is above you. A storage unit provides usable height as well as floor space, and thoughtful vertical organization can dramatically improve efficiency. The key is using that height deliberately rather than simply stacking boxes as high as possible. Start with sturdy, similarly sized containers and gradually place lighter boxes higher. If you use shelving, follow the shelving system's weight limits and distribute belongings appropriately. Shelves can be especially useful for smaller boxes, bins, and items you expect to retrieve regularly because they allow individual containers to be removed without dismantling an entire stack.
At the same time, leave enough clearance to handle belongings comfortably. A box stored extremely high may technically fit, but if retrieving it requires shifting multiple unstable containers, the space is not being used effectively. Vertical storage should make the unit more organized, not more difficult to navigate. This strategy can be especially useful in Helena households with a collection of recreational equipment. The City of Helena Parks, Recreation and Open Lands Department manages a system that includes more than 2,140 acres of developed and undeveloped parkland, along with bike and pedestrian trails and numerous recreational facilities. With hiking, biking, and other outdoor activities readily available around the community, equipment such as packs, helmets, camping supplies, and accessories can quickly compete with everyday household belongings for room. Keeping smaller recreational items together on shelves or in clearly marked containers can make that equipment much easier to rotate in and out of storage. Instead of allowing outdoor gear to fill random gaps throughout the unit, vertical organization gives those belongings a defined place.
7. Prepare Furniture Instead of Simply Moving It
Furniture can take up a large portion of a storage unit, so preparation before move-in day can have a major impact on how efficiently everything fits. Start by cleaning furniture thoroughly and making sure pieces are dry before they are packed away. Dust, crumbs, and residue are much easier to address at home than after a piece has already been surrounded by boxes. When appropriate, disassemble larger furniture to reduce its footprint. Table legs, removable shelving, bed frames, and other detachable components can often be packed more efficiently when separated. However, keep every screw, bolt, bracket, and small piece of hardware organized. Place hardware in a labeled bag and keep it with the corresponding furniture or in one clearly identified hardware container.
Taking a few photographs before disassembly can also be useful. Months later, it may not be obvious which direction a bracket faced or where a particular support belonged. A quick photo provides an easy reference without requiring complicated notes. Once furniture enters the unit, use clean, breathable protective materials suited to the item to help reduce dust and incidental scratches. Avoid pressing sharp corners directly against upholstered surfaces or finished wood. Likewise, do not wedge furniture so tightly between boxes that removing one piece later requires dragging it against everything around it. Space efficiency matters, but preserving the condition and accessibility of belongings matters more.
8. Give Helena's Outdoor Gear a Dedicated Home
For many Helena residents, household storage is not limited to furniture and moving boxes. Hiking packs, bikes, camping equipment, helmets, fishing supplies, and other recreational belongings can occupy a surprising amount of space, especially when several activities are represented in the same household. That is not unusual in an area with substantial access to outdoor recreation. Helena has a large trail network surrounding the city, including more than 75 miles of singletrack in the South Hills, more than 50 miles in the North Valley, and additional access to areas such as the Continental Divide Trail and Scratchgravel Hills. Mount Helena itself is popular for hiking, running, and mountain biking, according to the City of Helena.
Instead of placing this equipment wherever there is leftover room, create a dedicated recreational gear zone. Clean dirt and debris from equipment before packing it away, empty backpacks and gear bags, and organize smaller accessories into clearly labeled containers. Keeping related items together makes it easier to find everything before the next trip instead of searching through several unrelated household boxes. For additional local perspective, our article about the pros and cons of living in Helena, Montana takes a closer look at everyday life in the area. Helena's access to outdoor spaces is an important part of that local lifestyle, and it also creates a practical reason to think carefully about where bulky recreational belongings live when they are not being used.
The local tourism organization, Visit Helena, also provides information about hiking and trail opportunities throughout the Helena area. Its trail resources cover destinations and networks for hikers, runners, cyclists, and other outdoor enthusiasts, making it a useful local reference for residents whose closets and garages seem to accumulate another piece of adventure gear every season.
9. Keep the Things You Will Need First Near the Door
Even a beautifully organized storage unit can become inconvenient if the belongings you need most are buried in the back. Before you finish packing, think about the next few months rather than only move-in day. Ask yourself which items are most likely to leave the unit first and which ones can comfortably remain untouched. Seasonal decorations, recreational equipment, business supplies, hobby materials, important household items, or belongings connected to an ongoing project may need to remain within easier reach. Meanwhile, furniture or boxes that you know will stay stored for a longer period can occupy less accessible areas toward the rear.
The answer may also change depending on why you are using storage. If you are temporarily creating more room at home, the things you need frequently will be different from those needed during a longer transition. This is another reason a flexible layout is so useful. Instead of packing the unit as a permanent wall of belongings, you are creating an arrangement that can adapt as items come and go. Try to avoid filling every small gap near the entrance simply because space is available. A little working room around frequently used boxes can be far more useful than fitting one additional container into the unit. Accessibility is part of efficient packing, even when it means leaving a small amount of open space.
10. Finish With a Five-Minute Accessibility Check
Once everything is inside, resist the urge to immediately close the door and consider the job complete. Spend another five minutes looking at the unit from the perspective of someone returning several months from now. That final check often reveals small problems that were difficult to notice while you were focused on carrying and stacking. First, look at your labels. Can you read most of them without moving boxes? Next, examine the stacks. Are the heaviest containers near the bottom? Are fragile boxes protected from excessive weight? Then check the aisle and the items near the entrance. Can you reach the belongings you are most likely to need without dismantling several sections?
It is also worth checking furniture placement one more time. Make sure pieces are stable, protective coverings are positioned correctly, and nothing sharp is pressing against a delicate surface. If you notice a leaning stack or an awkwardly placed box now, correcting it will be much easier than discovering the problem during a future visit. Finally, take a few photographs of the completed unit from the entrance and, if possible, from the aisle. Those photos can work alongside your inventory as a simple visual map. Several months from now, you may not remember exactly where the camping equipment or holiday decorations ended up, but a photograph can provide the answer in seconds.
Small Packing Decisions Can Make a Big Difference Later
Packing a storage unit like a pro does not require complicated equipment or an elaborate organization system. Most of the difference comes from a series of small decisions made before and during the packing process. Choosing appropriately sized boxes, creating meaningful labels, building stable stacks, protecting furniture, using vertical space thoughtfully, and maintaining an aisle can transform the way the space functions. Those choices become even more valuable when storage is part of everyday life rather than a one-time move. Helena offers extensive opportunities for people who enjoy spending time outdoors, and the city's open lands provide access to hiking, running, biking, and other recreation. The City of Helena open lands system includes more than 1,950 acres of undeveloped parkland, including Mount Helena City Park and other trail locations. For households with bikes, camping supplies, packs, sporting equipment, and other gear alongside ordinary household belongings, thoughtful organization can help keep those different categories from competing for the same space.
Ultimately, the best packed storage unit is not necessarily the fullest one. It is the unit where you know what you have, where it is located, and how to reach it. Leaving an aisle may sacrifice a little floor space, and taking the time to create an inventory may add a few minutes to packing day, but both choices can save much more time later. At Helena Security Storage, we want our storage space to remain practical throughout the time you use it, not just on the day you move your belongings inside. When additional room becomes useful for household belongings, furniture, recreational gear, or other items you want to keep organized, you can explore
storage options from Security Storage while considering the unit size and arrangement that best fit what you plan to store.